After withstanding snow, sleet and freezing Arctic breezes this winter, your Otter portable ice shelter must survive one last challenge – you!
So don’t be the guy that shoves his Otter in the garage after last-ice and never touches it again until first-ice next winter. Follow these simple preparation steps this spring to ensure the longevity of your Otter, which features the most durable, longest lasting shells on the market:
First, set up your Otter in your garage, yard or driveway. Remove all leftover gear, tackle and trash from the sled, then wash and rinse it out with your garden hose.
Next, conduct a comprehensive investigation of your Otter’s fabric, checking for rips or holes. Damage can be easily repaired with a Small Patch Kit or a Large Patch Kit.
Carefully inspect your poles, ensuring that they all slide smoothly upon lifting and lowering the structure. If not, spray a lubricant like WD-40 on a rag and wipe it along the length of each pole.
Next, hose down the fabric to remove dirt, grime and road salt. Before folding everything back up, let the fabric dry completely, or mold and mildew will grow in the folds over the summer.
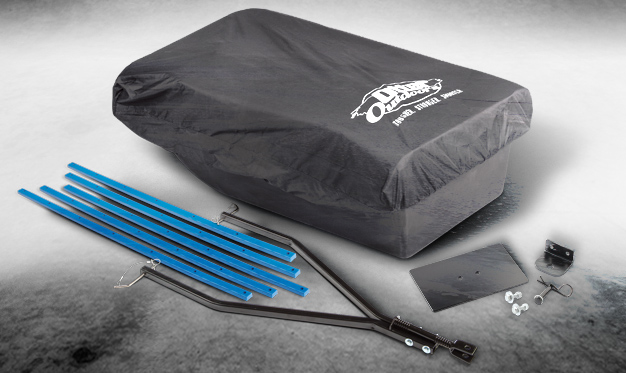
Only after the fabric is completely dry, put on your travel cover to provide additional protection throughout off-season storage. Finally, move your Otter to a cool, dry place where it will be out of the way until next winter.